Lift Kit Installation Instruction

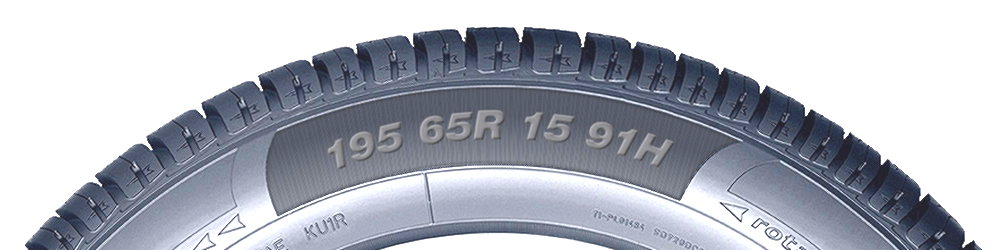
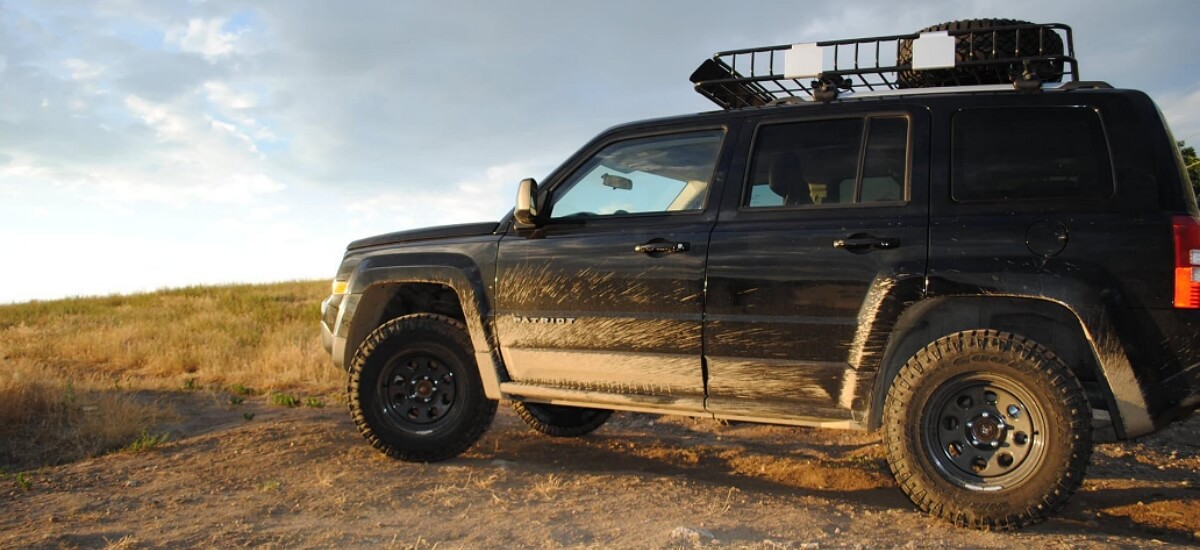
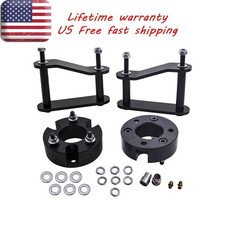
There are different types of lift kits for the Jeep Patriot, and some of them are just 2- or 3-inch spacers. So, if you were wondering, what is the most popular way to lift the Jeep Patriot, its 2-inch spacers. When installing any kind of lift kit on your Patriot, make sure to check the installation instruction that comes with the kit. The generic installation instruction is available here. However if you decided to install not just the new spacers, but the new struts and shocks, here is the instruction you may be looking for.

Black Lifted Jeep Patriot with mud tires and roof rack

  1. Gather the necessary tools and equipment for the installation, including a lift kit, jack stands, hydraulic jack, wrenches, socket set, and torque wrench.
  2. Start by parking the Jeep Patriot on a flat and level surface, and engage the parking brake for safety.
  3. Locate the front and rear suspension components that need to be modified or replaced with the lift kit. These typically include springs, shocks, and control arms.
  4. Begin with the front suspension. Use the hydraulic jack to lift the front of the vehicle and place jack stands securely under the frame for support.
  5. Remove the front wheels using a lug wrench and set them aside.
  6. Locate the front springs and shocks. Start by removing the lower bolts on the shocks using a socket wrench. Then, carefully compress the spring with a spring compressor tool and remove the upper bolts securing the shocks. Slowly release the tension on the spring compressor to remove the spring.
  7. Install the new front springs included in the lift kit. Make sure they are properly aligned and seated in the spring perch. Attach the new shocks to the mounting points and tighten the bolts according to the manufacturer’s specifications, using a torque wrench.
  8. Move to the rear suspension. Use the hydraulic jack to lift the rear of the vehicle and support it with jack stands.
  9. Remove the rear wheels using a lug wrench and set them aside.
  10. Locate the rear springs and shocks. Start by removing the lower bolts on the shocks using a socket wrench. Then, carefully compress the spring with a spring compressor tool and remove the upper bolts securing the shocks. Slowly release the tension on the spring compressor to remove the spring.
  11. Install the new rear springs included in the lift kit. Ensure they are properly aligned and seated in the spring perch. Attach the new shocks to the mounting points and tighten the bolts according to the manufacturer’s specifications, using a torque wrench.
  12. Once the new springs and shocks are installed on both the front and rear suspension, lower the vehicle off the jack stands using the hydraulic jack.
  13. Reinstall the front and rear wheels and tighten the lug nuts with a lug wrench.
  14. Double-check all the bolts and connections to ensure they are properly tightened and secure.
  15. Lower the Jeep Patriot to the ground and remove the hydraulic jack.
  16. Test the suspension by bouncing the vehicle a few times to ensure it functions properly and there are no unusual noises or issues.

It’s important to note that this guide provides a general overview of the installation process. The specific steps and requirements may vary depending on the lift kit manufacturer and the model year of your Jeep Patriot. Always refer to the manufacturer’s instructions and guidelines for your specific lift kit for the most accurate and detailed installation procedure.

SHOP NOW

Check rating, price & availability!

A common challenge when buying tires is understanding the different types of tires, and which one will work best for you.

understanding-tires

The most popular manufacturers use common tire size abbreviations. They are the same for all tire brands produced throughout the world. When selecting tires for your car, truck or SUV it is a good idea to understand what the sidewall markings mean, in order to understand specs of the tires you select.

Tire Codes Explanation

The first number one can normally see on a tire sidewall is the tire width (in millimeters). In the example above, the tire width is 195 mm. This is a measurement between the sides of tire, from one sidewall to another. Some tire brands use extra letter before the number that denotes width. In the example above, the letter is missing. However, if you see P195, this is a passenger tire that is 195 mm wide. As a rule, width on the sidewall is followed by a slash (/) or a space.
Aspect ratio follows the width in the common tire codes. Sometimes, tire manufacturers can use a space or slash mark between them. Aspect ratio is the second number you can see on the tire sidewall. It explains, how tall is the tire profile. In the example above, aspect ratio equals to 65. Modern tire codes deliver the aspect ratio as percentage. It is calculated by dividing the height of the tire by its width. If you see, that aspect ratio is 65, it means that the height of the tire is 65% of its width. In general, the lower aspect ratio (around 60) means better handling.
Construction type is the letter that follows the aspect ratio in the tire code. It denotes the type of the tire internal construction, that maintains the tire stability on the road. There are 2 types of construction:
  1. R - Radial;
  2. D - Diagonal (also known as Bias Ply).
The majority of tires used in the U.S. are radial tires, and that is the only kind of construction offered by Fuzion tires. So chances are high, that you also have got radial tires on your daily driver. This construction means, that the internal ply cords of the tire are positioned in radial direction, perpendicular to the rotation axis and placed from one bead over to the other.
Explanation of rim diameter is pretty simple, especially for the Americans, who normally use inches to measure something. So, the number, that follows construction type on the tire code, is the diameter of the rim in inches. In the example provided, the code says ‘R15’, which means the rim diameter is 15 inches.
Load index is the combination of digits that follows the rim diameter. It tells, how much weight a tire can support when it is completely inflated (weight in lbs). This measurement is called as load index, since it does not give the exact weight the tire is developed to carry, but it corresponds to certain capacity as an index. You can find a number from 1 to 150, which represents load capacities between 99 and 735 lbs.
Speed rating is the last letter in the tire codes. It works exactly as the load index does for the particular load. This means, that speed rating letter corresponds to a certain speed capability from the internationally standardized base. In the example above, the speed rating is ‘H’. Alternatively, it can be ‘R’ for tires rated up to 106 mph, or ‘S’ for the tires rated for up to 112 mph. Note, that this is not recommended cruising speed, but the speed limit that should not be exceeded for certain tires. The higher speed rating is, the better is handling performance tires offer. If you happen to use tires with different speed ratings on one vehicle, the least speed rating should not be exceeded.

Jeep Patriot Tires

Whether you own Jeep Patriot Sport, Limited or Latitude, it's good to know, what wheel and tire sizes are recommended for your specific vehicle. We have selected all necessary information about these trim levels to let you know about the features, that came standard for these SUVs. Select the trim level you are interested in and find out technical details about Jeep Patriot tires that are guaranteed to work.


★ ★ ★


Haven't found your vehicle?
Check here!

TOP